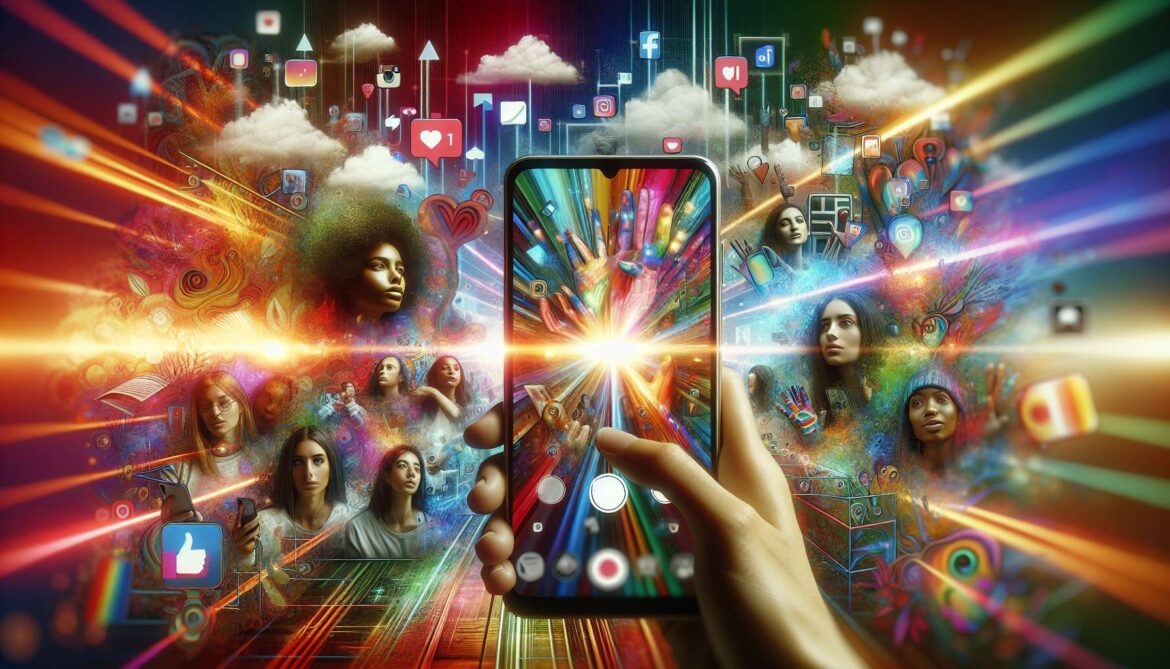
The selfie revolution has transformed how we communicate, work, and express ourselves. From professional video calls with perfect backgrounds to creative Instagram filters that transport us to exotic locations, background segmentation has become an essential technology. MediaPipe’s Selfie Segmentation solution democratizes this powerful capability, enabling developers to create stunning background effects with just a few lines of code. Whether you’re building the next viral camera app or enhancing video conferencing, this technology opens up limitless creative possibilities.
Understanding Selfie Segmentation Technology
MediaPipe’s Selfie Segmentation uses advanced machine learning to distinguish between a person and their background in real-time. Unlike traditional green screen technology that requires specific lighting and colored backgrounds, this solution works in any environment, making professional-quality background effects accessible to everyone.
flowchart TD
    A[Camera Input] --> B[Selfie Segmentation Model]
    B --> C[Person Mask Generation]
    C --> D[Background Detection]

    D --> E[Effect Processing]

    E --> F[Background Blur]
    E --> G[Background Replacement]
    E --> H[Color Grading]
    E --> I[Artistic Effects]

    F --> J[Professional Video Calls]
    G --> K[Social Media Content]
    H --> L[Photography Apps]
    I --> M[Creative Filters]

    style A fill:#e3f2fd
    style E fill:#fff3e0
    style B fill:#f3e5f5
Building Instagram-Style Camera Effects
Let’s start by creating a comprehensive camera application that can apply various background effects, just like popular social media apps.
import cv2
import mediapipe as mp
import numpy as np
from enum import Enum

class SelfieSegmentationApp:
    def __init__(self, model_selection=1):
        self.mp_selfie_segmentation = mp.solutions.selfie_segmentation
        self.selfie_segmentation = self.mp_selfie_segmentation.SelfieSegmentation(
            model_selection=model_selection
        )

        self.blur_intensity = 15
        self.background_images = self.load_background_images()
        self.current_bg_index = 0

    def load_background_images(self):
        backgrounds = []

        # Create gradient background
        gradient = np.zeros((720, 1280, 3), dtype=np.uint8)
        for i in range(720):
            gradient[i, :] = [int(255 * (1 - i/720)), int(128 * (i/720)), 255]
        backgrounds.append(gradient)

        # Solid color backgrounds
        colors = [(255, 182, 193), (173, 216, 230), (144, 238, 144)]
        for color in colors:
            bg = np.full((720, 1280, 3), color, dtype=np.uint8)
            backgrounds.append(bg)

        return backgrounds

    def process_frame(self, frame, effect_type="blur"):
        rgb_frame = cv2.cvtColor(frame, cv2.COLOR_BGR2RGB)
        results = self.selfie_segmentation.process(rgb_frame)
        mask = results.segmentation_mask

        if effect_type == "blur":
            return self.apply_background_blur(frame, mask), mask
        elif effect_type == "replace":
            return self.apply_background_replacement(frame, mask), mask
        elif effect_type == "artistic":
            return self.apply_artistic_effect(frame, mask), mask

        return frame, mask

    def apply_background_blur(self, frame, mask):
        condition = np.stack((mask,) * 3, axis=-1) > 0.1
        blurred_frame = cv2.GaussianBlur(frame, (31, 31), 0)
        output_frame = np.where(condition, frame, blurred_frame)
        return output_frame.astype(np.uint8)

    def apply_background_replacement(self, frame, mask):
        if not self.background_images:
            return frame

        background = self.background_images[self.current_bg_index]
        background = cv2.resize(background, (frame.shape[1], frame.shape[0]))

        condition = np.stack((mask,) * 3, axis=-1) > 0.1
        smoothed_mask = cv2.GaussianBlur(mask, (5, 5), 0)
        smoothed_condition = np.stack((smoothed_mask,) * 3, axis=-1)

        output_frame = (smoothed_condition * frame +
                       (1 - smoothed_condition) * background)

        return output_frame.astype(np.uint8)

    def apply_artistic_effect(self, frame, mask):
        background_gray = cv2.cvtColor(frame, cv2.COLOR_BGR2GRAY)
        background_edges = cv2.Canny(background_gray, 100, 200)
        background_colored = cv2.applyColorMap(background_edges, cv2.COLORMAP_HOT)

        condition = np.stack((mask,) * 3, axis=-1) > 0.1
        output_frame = np.where(condition, frame, background_colored)

        return output_frame.astype(np.uint8)
Advanced Filter Effects
Let’s enhance our application with more sophisticated effects for professional and creative applications.
class AdvancedFilterApp(SelfieSegmentationApp):
    def __init__(self):
        super().__init__()
        self.filter_history = []

    def apply_color_pop(self, frame, mask):
        """Keep person in color, make background black and white"""
        gray_frame = cv2.cvtColor(frame, cv2.COLOR_BGR2GRAY)
        gray_bgr = cv2.cvtColor(gray_frame, cv2.COLOR_GRAY2BGR)

        condition = np.stack((mask,) * 3, axis=-1) > 0.1
        output_frame = np.where(condition, frame, gray_bgr)

        return output_frame.astype(np.uint8)

    def apply_vintage_effect(self, frame, mask):
        """Apply vintage color grading to background"""
        # Create vintage color matrix
        vintage_frame = frame.copy().astype(np.float32)
        vintage_frame[:, :, 0] *= 0.8  # Reduce blue
        vintage_frame[:, :, 1] *= 1.1  # Enhance green
        vintage_frame[:, :, 2] *= 1.2  # Enhance red

        # Add sepia tone to background
        vintage_frame = np.clip(vintage_frame, 0, 255).astype(np.uint8)

        condition = np.stack((mask,) * 3, axis=-1) > 0.1
        output_frame = np.where(condition, frame, vintage_frame)

        return output_frame

    def apply_neon_effect(self, frame, mask):
        """Apply neon glow effect to background"""
        # Convert to HSV for better color manipulation
        hsv = cv2.cvtColor(frame, cv2.COLOR_BGR2HSV)

        # Increase saturation and value for neon effect
        hsv[:, :, 1] = np.clip(hsv[:, :, 1] * 1.5, 0, 255)  # Saturation
        hsv[:, :, 2] = np.clip(hsv[:, :, 2] * 1.2, 0, 255)  # Value

        neon_frame = cv2.cvtColor(hsv, cv2.COLOR_HSV2BGR)

        condition = np.stack((mask,) * 3, axis=-1) > 0.1
        output_frame = np.where(condition, frame, neon_frame)

        return output_frame

    def create_ghost_effect(self, frame, mask, opacity=0.5):
        """Create ghost/transparency effect"""
        # Make person semi-transparent
        person_mask = np.stack((mask,) * 3, axis=-1)
        transparent_person = frame * person_mask * opacity
        background_visible = frame * (1 - person_mask)

        output_frame = transparent_person + background_visible
        return output_frame.astype(np.uint8)
Complete Social Media Camera App
Let’s integrate everything into a complete camera application with real-time effects and user controls.
def main_camera_app():
    app = AdvancedFilterApp()

    cap = cv2.VideoCapture(0)
    cap.set(3, 1280)
    cap.set(4, 720)

    current_effect = "original"
    effects = ["original", "blur", "replace", "artistic", "color_pop", "vintage", "neon", "ghost"]
    effect_index = 0

    print("Social Media Camera Controls:")
    print("- Press SPACE to cycle through effects")
    print("- Press 'b' to change background")
    print("- Press 's' to save photo")
    print("- Press '+' to increase blur")
    print("- Press '-' to decrease blur")
    print("- Press 'q' to quit")

    photo_count = 0

    while True:
        ret, frame = cap.read()
        if not ret:
            break

        frame = cv2.flip(frame, 1)
        original_frame = frame.copy()

        # Apply current effect
        if current_effect == "original":
            processed_frame, mask = frame, None
        elif current_effect == "blur":
            processed_frame, mask = app.process_frame(frame, "blur")
        elif current_effect == "replace":
            processed_frame, mask = app.process_frame(frame, "replace")
        elif current_effect == "artistic":
            processed_frame, mask = app.process_frame(frame, "artistic")
        elif current_effect == "color_pop":
            _, mask = app.process_frame(frame, "blur")  # Get mask
            processed_frame = app.apply_color_pop(frame, mask)
        elif current_effect == "vintage":
            _, mask = app.process_frame(frame, "blur")  # Get mask
            processed_frame = app.apply_vintage_effect(frame, mask)
        elif current_effect == "neon":
            _, mask = app.process_frame(frame, "blur")  # Get mask
            processed_frame = app.apply_neon_effect(frame, mask)
        elif current_effect == "ghost":
            _, mask = app.process_frame(frame, "blur")  # Get mask
            processed_frame = app.create_ghost_effect(frame, mask)

        # Display effect name
        cv2.putText(processed_frame, f"Effect: {current_effect.title()}",
                   (10, 30), cv2.FONT_HERSHEY_SIMPLEX, 1, (0, 255, 0), 2)

        # Display controls hint
        cv2.putText(processed_frame, "SPACE: Next Effect | S: Save Photo",
                   (10, processed_frame.shape[0] - 20), cv2.FONT_HERSHEY_SIMPLEX,
                   0.6, (255, 255, 255), 1)

        cv2.imshow('Social Media Camera - MediaPipe Effects', processed_frame)

        key = cv2.waitKey(1) & 0xFF
        if key == ord('q'):
            break
        elif key == ord(' '):  # Space bar
            effect_index = (effect_index + 1) % len(effects)
            current_effect = effects[effect_index]
            print(f"Switched to: {current_effect}")
        elif key == ord('b'):
            app.current_bg_index = (app.current_bg_index + 1) % len(app.background_images)
            print(f"Background changed to index: {app.current_bg_index}")
        elif key == ord('s'):
            # Save photo
            timestamp = cv2.getTickCount()
            filename = f"selfie_effect_{current_effect}_{photo_count:03d}.jpg"
            cv2.imwrite(filename, processed_frame)
            print(f"Photo saved: {filename}")
            photo_count += 1
        elif key == ord('+') or key == ord('='):
            app.blur_intensity = min(app.blur_intensity + 2, 31)
            print(f"Blur intensity: {app.blur_intensity}")
        elif key == ord('-'):
            app.blur_intensity = max(app.blur_intensity - 2, 5)
            print(f"Blur intensity: {app.blur_intensity}")

    cap.release()
    cv2.destroyAllWindows()

if __name__ == "__main__":
    main_camera_app()
Mobile Optimization Techniques
For mobile applications, performance optimization is crucial for smooth real-time effects.
- Model Selection: Use model_selection=0 for faster performance on mobile devices
- Resolution Management: Process at lower resolution and upscale for display
- Frame Skipping: Apply effects every 2nd or 3rd frame for non-critical applications
- Memory Optimization: Reuse arrays and minimize memory allocations
- GPU Acceleration: Leverage mobile GPU capabilities where available
Real-World Applications
Video Conferencing
- Professional meeting backgrounds
- Privacy protection
- Branding opportunities
- Distraction reduction
Content Creation
- Social media filters
- Photography enhancement
- Video production
- Live streaming effects
Publishing to App Stores
When building commercial camera applications with MediaPipe, consider these important factors:
- Performance Requirements: Ensure smooth 30 FPS on target devices
- Privacy Compliance: Implement proper camera permission handling
- User Experience: Provide intuitive controls and quick effect switching
- Monetization: Consider premium effects, in-app purchases, or subscriptions
- Social Integration: Enable easy sharing to social media platforms
“The democratization of advanced camera effects through MediaPipe has leveled the playing field, allowing indie developers to compete with major tech companies in creating engaging visual experiences.”
Mobile App Development Industry Report
What’s Next: Web-Based Computer Vision
You’ve now mastered selfie segmentation and background effects! In our next tutorial, we’ll explore MediaPipe on the web, learning how to build browser-based computer vision applications with JavaScript that work across all devices.
Ready to launch your own camera app? Download our complete selfie segmentation toolkit with mobile optimization guides, additional effects, and app store deployment strategies.
This is Part 6 of our comprehensive MediaPipe series. Coming next: Building browser-based computer vision applications that work on any device!