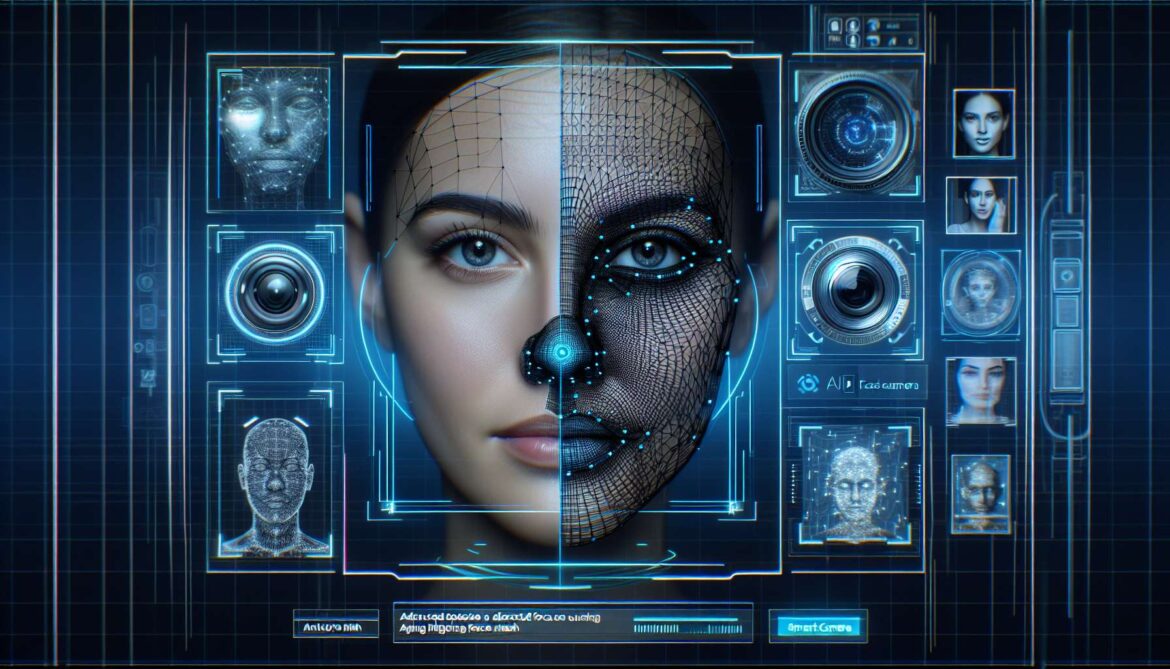
Face detection and recognition technologies are everywhere around us – from smartphone cameras that automatically focus on faces to security systems that identify individuals. But there’s an important distinction between simply detecting that a face exists and actually recognizing who that person is. MediaPipe provides powerful tools for both scenarios, and understanding when to use each approach is crucial for building effective computer vision applications.
Face Detection vs Face Recognition: Understanding the Difference
Before diving into the technical implementation, let’s clarify the fundamental difference between these two concepts, as they serve different purposes and have distinct privacy implications.
Face Detection
- Identifies presence of faces in images
- Locates facial boundaries and key points
- No identity information stored
- Privacy-friendly approach
- Real-time performance
Face Recognition
- Identifies specific individuals
- Requires pre-trained database
- Stores biometric templates
- Significant privacy considerations
- Higher computational requirements
MediaPipe Face Solutions Overview
MediaPipe offers several face-related solutions, each optimized for specific use cases. Understanding their capabilities helps you choose the right tool for your application.
flowchart TD
    A[Input Image/Video] --> B{Choose Solution}

    B --> C[Face Detection]
    B --> D[Face Mesh]
    B --> E[Face Landmarks]

    C --> F[6 Key PointsBounding Box]
    D --> G[468 3D LandmarksDetailed Mesh]
    E --> H[Basic Facial PointsEyes, Nose, Mouth]

    F --> I[Smart Camera Apps]
    G --> J[AR Filters & Effects]
    H --> K[Expression Analysis]

    L[Privacy Considerations] -.-> C
    M[Performance Impact] -.-> D
    N[Use Case Requirements] -.-> E

    style A fill:#e3f2fd
    style I fill:#e8f5e8
    style J fill:#e8f5e8
    style K fill:#e8f5e8
    style L fill:#ffebee
    style M fill:#fff3e0
    style N fill:#f3e5f5
Building a Smart Camera App with Face Detection
Let’s start by implementing MediaPipe’s Face Detection solution to create a smart camera application that can automatically focus on faces, apply filters, and provide photography assistance.
import cv2
import mediapipe as mp
import numpy as np
from datetime import datetime
import os

class SmartCamera:
    def __init__(self,
                 min_detection_confidence=0.7,
                 model_selection=0):  # 0 for close-range, 1 for full-range

        self.mp_face_detection = mp.solutions.face_detection
        self.mp_draw = mp.solutions.drawing_utils

        self.face_detection = self.mp_face_detection.FaceDetection(
            min_detection_confidence=min_detection_confidence,
            model_selection=model_selection
        )

        # Camera settings
        self.photo_count = 0
        self.face_detected = False
        self.face_confidence = 0

    def detect_faces(self, frame):
        """Detect faces and return detection results"""
        rgb_frame = cv2.cvtColor(frame, cv2.COLOR_BGR2RGB)
        results = self.face_detection.process(rgb_frame)

        faces_info = []

        if results.detections:
            for detection in results.detections:
                bboxC = detection.location_data.relative_bounding_box
                ih, iw, _ = frame.shape

                # Convert relative coordinates to pixel coordinates
                x = int(bboxC.xmin * iw)
                y = int(bboxC.ymin * ih)
                w = int(bboxC.width * iw)
                h = int(bboxC.height * ih)

                # Extract confidence score
                confidence = detection.score[0]

                faces_info.append({
                    'bbox': (x, y, w, h),
                    'confidence': confidence,
                    'detection': detection
                })

        return faces_info, results

    def draw_face_detection(self, frame, faces_info, results):
        """Draw face detection overlays"""
        if results.detections:
            for i, detection in enumerate(results.detections):
                # Draw bounding box and keypoints
                self.mp_draw.draw_detection(frame, detection)

                # Add custom information overlay
                face_info = faces_info[i]
                x, y, w, h = face_info['bbox']
                confidence = face_info['confidence']

                # Draw confidence score
                cv2.putText(frame, f'Face: {confidence:.2f}',
                           (x, y - 10), cv2.FONT_HERSHEY_SIMPLEX,
                           0.7, (0, 255, 0), 2)

                # Draw focus rectangle for photography
                cv2.rectangle(frame, (x-5, y-5), (x+w+5, y+h+5),
                             (0, 255, 255), 3)

        return frame

    def auto_focus_effect(self, frame, faces_info):
        """Apply auto-focus effect based on face detection"""
        if not faces_info:
            return frame

        # Find the largest face (closest to camera)
        largest_face = max(faces_info, key=lambda f: f['bbox'][2] * f['bbox'][3])
        x, y, w, h = largest_face['bbox']

        # Create focused region
        face_region = frame[y:y+h, x:x+w]

        # Apply slight sharpening to face region
        if face_region.size > 0:
            kernel = np.array([[-1,-1,-1], [-1,9,-1], [-1,-1,-1]])
            sharpened = cv2.filter2D(face_region, -1, kernel)
            frame[y:y+h, x:x+w] = sharpened

        return frame

    def take_photo_when_ready(self, frame, faces_info):
        """Automatically take photo when face is well-positioned"""
        if not faces_info:
            return False

        best_face = max(faces_info, key=lambda f: f['confidence'])

        # Check if face is well-positioned for photo
        if (best_face['confidence'] > 0.8 and
            self.is_face_centered(best_face['bbox'], frame.shape) and
            self.is_good_face_size(best_face['bbox'], frame.shape)):

            return True

        return False

    def is_face_centered(self, bbox, frame_shape):
        """Check if face is reasonably centered in frame"""
        x, y, w, h = bbox
        frame_h, frame_w = frame_shape[:2]

        face_center_x = x + w // 2
        face_center_y = y + h // 2

        frame_center_x = frame_w // 2
        frame_center_y = frame_h // 2

        # Allow some tolerance for "centered"
        return (abs(face_center_x - frame_center_x) < frame_w * 0.2 and
                abs(face_center_y - frame_center_y) < frame_h * 0.2)

    def is_good_face_size(self, bbox, frame_shape):
        """Check if face size is appropriate for photo"""
        x, y, w, h = bbox
        frame_h, frame_w = frame_shape[:2]

        face_area = w * h
        frame_area = frame_w * frame_h
        face_ratio = face_area / frame_area

        # Face should be between 5% and 40% of frame
        return 0.05 < face_ratio < 0.4
Advanced Face Mesh for AR Applications
MediaPipe’s Face Mesh solution provides 468 3D facial landmarks, enabling sophisticated AR effects, facial analysis, and detailed face tracking applications.
class FaceMeshProcessor:
    def __init__(self,
                 max_num_faces=1,
                 refine_landmarks=True,
                 min_detection_confidence=0.5,
                 min_tracking_confidence=0.5):

        self.mp_face_mesh = mp.solutions.face_mesh
        self.mp_draw = mp.solutions.drawing_utils
        self.mp_draw_styles = mp.solutions.drawing_styles

        self.face_mesh = self.mp_face_mesh.FaceMesh(
            max_num_faces=max_num_faces,
            refine_landmarks=refine_landmarks,
            min_detection_confidence=min_detection_confidence,
            min_tracking_confidence=min_tracking_confidence
        )

        # Define key facial regions
        self.LEFT_EYE_INDICES = [33, 7, 163, 144, 145, 153, 154, 155, 133, 173, 157, 158, 159, 160, 161, 246]
        self.RIGHT_EYE_INDICES = [362, 382, 381, 380, 374, 373, 390, 249, 263, 466, 388, 387, 386, 385, 384, 398]
        self.LIPS_INDICES = [61, 84, 17, 314, 405, 320, 307, 375, 321, 308, 324, 318]

    def process_face_mesh(self, frame):
        """Process frame and extract face mesh landmarks"""
        rgb_frame = cv2.cvtColor(frame, cv2.COLOR_BGR2RGB)
        results = self.face_mesh.process(rgb_frame)

        face_landmarks_list = []

        if results.multi_face_landmarks:
            for face_landmarks in results.multi_face_landmarks:
                landmarks = []
                for landmark in face_landmarks.landmark:
                    h, w, _ = frame.shape
                    x, y = int(landmark.x * w), int(landmark.y * h)
                    z = landmark.z  # Relative depth
                    landmarks.append([x, y, z])

                face_landmarks_list.append(landmarks)

        return face_landmarks_list, results

    def draw_face_mesh(self, frame, results, draw_style='contours'):
        """Draw face mesh with different styles"""
        if not results.multi_face_landmarks:
            return frame

        for face_landmarks in results.multi_face_landmarks:
            if draw_style == 'full':
                # Draw all landmarks
                self.mp_draw.draw_landmarks(
                    frame, face_landmarks, self.mp_face_mesh.FACEMESH_TESSELATION,
                    None, self.mp_draw_styles.get_default_face_mesh_tesselation_style())

            elif draw_style == 'contours':
                # Draw face contours only
                self.mp_draw.draw_landmarks(
                    frame, face_landmarks, self.mp_face_mesh.FACEMESH_CONTOURS,
                    None, self.mp_draw_styles.get_default_face_mesh_contours_style())

            elif draw_style == 'custom':
                # Draw custom regions (eyes and lips)
                self.draw_custom_regions(frame, face_landmarks.landmark)

        return frame

    def draw_custom_regions(self, frame, landmarks):
        """Draw custom facial regions"""
        h, w, _ = frame.shape

        # Draw eyes
        for eye_indices in [self.LEFT_EYE_INDICES, self.RIGHT_EYE_INDICES]:
            eye_points = []
            for idx in eye_indices:
                if idx < len(landmarks):
                    x = int(landmarks[idx].x * w)
                    y = int(landmarks[idx].y * h)
                    eye_points.append((x, y))

            if len(eye_points) > 3:
                pts = np.array(eye_points, np.int32)
                cv2.polylines(frame, [pts], True, (0, 255, 255), 2)

        # Draw lips
        lip_points = []
        for idx in self.LIPS_INDICES:
            if idx < len(landmarks):
                x = int(landmarks[idx].x * w)
                y = int(landmarks[idx].y * h)
                lip_points.append((x, y))

        if len(lip_points) > 3:
            pts = np.array(lip_points, np.int32)
            cv2.polylines(frame, [pts], True, (255, 0, 255), 2)

    def calculate_face_orientation(self, landmarks):
        """Calculate face orientation (pitch, yaw, roll)"""
        if len(landmarks) < 468:
            return None

        # Key points for orientation calculation
        nose_tip = landmarks[1]  # Nose tip
        chin = landmarks[18]     # Chin
        left_eye = landmarks[33] # Left eye corner
        right_eye = landmarks[362] # Right eye corner

        # Calculate basic angles (simplified)
        # Yaw (left-right rotation)
        eye_center_x = (left_eye[0] + right_eye[0]) / 2
        nose_x = nose_tip[0]
        yaw = (nose_x - eye_center_x) / 100  # Normalized

        # Pitch (up-down rotation)
        nose_chin_distance = abs(nose_tip[1] - chin[1])
        pitch = (nose_chin_distance - 100) / 100  # Normalized

        # Roll (tilt rotation)
        eye_angle = np.arctan2(right_eye[1] - left_eye[1],
                              right_eye[0] - left_eye[0])
        roll = np.degrees(eye_angle)

        return {'yaw': yaw, 'pitch': pitch, 'roll': roll}
Complete Smart Camera Application
Let’s bring everything together into a complete smart camera application that demonstrates both face detection and face mesh capabilities.
def main_smart_camera():
    # Initialize components
    smart_camera = SmartCamera()
    face_mesh_processor = FaceMeshProcessor()

    # Camera setup
    cap = cv2.VideoCapture(0)
    cap.set(3, 1280)  # Width
    cap.set(4, 720)   # Height

    # Application state
    mode = 'detection'  # 'detection' or 'mesh'
    auto_photo = False
    photo_countdown = 0

    print("Smart Camera Controls:")
    print("- Press 'd' for Face Detection mode")
    print("- Press 'm' for Face Mesh mode")
    print("- Press 'a' to toggle auto-photo")
    print("- Press 'p' to take photo manually")
    print("- Press 'q' to quit")

    while True:
        ret, frame = cap.read()
        if not ret:
            break

        # Flip for mirror effect
        frame = cv2.flip(frame, 1)
        original_frame = frame.copy()

        if mode == 'detection':
            # Face detection mode
            faces_info, results = smart_camera.detect_faces(frame)
            frame = smart_camera.draw_face_detection(frame, faces_info, results)

            # Apply auto-focus effect
            frame = smart_camera.auto_focus_effect(frame, faces_info)

            # Auto photo functionality
            if auto_photo and smart_camera.take_photo_when_ready(frame, faces_info):
                if photo_countdown <= 0:
                    # Save photo
                    timestamp = datetime.now().strftime("%Y%m%d_%H%M%S")
                    filename = f"smart_photo_{timestamp}.jpg"
                    cv2.imwrite(filename, original_frame)
                    print(f"Auto photo saved: {filename}")
                    photo_countdown = 60  # Wait 2 seconds before next auto photo
                else:
                    photo_countdown -= 1

            # Display status
            status_text = f"Mode: Detection | Faces: {len(faces_info)}"
            if auto_photo:
                status_text += " | Auto-Photo: ON"

        else:  # mesh mode
            # Face mesh mode
            face_landmarks_list, results = face_mesh_processor.process_face_mesh(frame)
            frame = face_mesh_processor.draw_face_mesh(frame, results, 'contours')

            # Calculate and display face orientation
            if face_landmarks_list:
                orientation = face_mesh_processor.calculate_face_orientation(face_landmarks_list[0])
                if orientation:
                    cv2.putText(frame, f"Yaw: {orientation['yaw']:.2f}",
                               (10, 100), cv2.FONT_HERSHEY_SIMPLEX, 0.7, (255, 255, 0), 2)
                    cv2.putText(frame, f"Pitch: {orientation['pitch']:.2f}",
                               (10, 130), cv2.FONT_HERSHEY_SIMPLEX, 0.7, (255, 255, 0), 2)
                    cv2.putText(frame, f"Roll: {orientation['roll']:.2f}°",
                               (10, 160), cv2.FONT_HERSHEY_SIMPLEX, 0.7, (255, 255, 0), 2)

            status_text = f"Mode: Face Mesh | Landmarks: {len(face_landmarks_list) * 468 if face_landmarks_list else 0}"

        # Display status
        cv2.putText(frame, status_text, (10, 30),
                   cv2.FONT_HERSHEY_SIMPLEX, 0.7, (0, 255, 0), 2)

        # Display frame
        cv2.imshow('Smart Camera - MediaPipe Face Solutions', frame)

        # Handle key presses
        key = cv2.waitKey(1) & 0xFF
        if key == ord('q'):
            break
        elif key == ord('d'):
            mode = 'detection'
            print("Switched to Face Detection mode")
        elif key == ord('m'):
            mode = 'mesh'
            print("Switched to Face Mesh mode")
        elif key == ord('a'):
            auto_photo = not auto_photo
            print(f"Auto-photo {'enabled' if auto_photo else 'disabled'}")
        elif key == ord('p'):
            # Manual photo
            timestamp = datetime.now().strftime("%Y%m%d_%H%M%S")
            filename = f"manual_photo_{timestamp}.jpg"
            cv2.imwrite(filename, original_frame)
            print(f"Photo saved: {filename}")

    cap.release()
    cv2.destroyAllWindows()

if __name__ == "__main__":
    main_smart_camera()
Privacy Considerations and Best Practices
When working with face detection and analysis technologies, it’s crucial to consider privacy implications and follow ethical development practices.
“With great power comes great responsibility. Face detection technology should enhance user experiences while respecting privacy and maintaining transparency about data usage.”
Computer Vision Ethics Guidelines
Privacy-First Development Guidelines
- Data Minimization: Only process face data necessary for your application
- Local Processing: Keep face detection on-device when possible
- Transparent Communication: Clearly inform users about face detection usage
- Opt-in Consent: Always request explicit permission for face processing
- Secure Storage: If storing face data is necessary, use encryption
- Regular Audits: Review and update privacy practices regularly
Real-World Applications and Use Cases
Photography & Creative
- Smart camera auto-focus
- Portrait mode enhancement
- Group photo optimization
- AR makeup filters
- Virtual portrait lighting
Accessibility & Communication
- Eye-gaze interfaces
- Facial expression recognition
- Emotion-aware applications
- Sign language enhancement
- Assistive communication tools
Performance Optimization for Face Applications
Face detection and mesh processing can be computationally intensive. Here are strategies to optimize performance across different devices:
- Model Selection: Choose appropriate detection models based on use case
- Resolution Management: Balance quality with processing speed
- Frame Skipping: Process every nth frame for non-critical applications
- ROI Processing: Focus processing on regions of interest
- Multi-threading: Separate capture and processing threads
What’s Coming Next: Pose Estimation
You’ve now mastered face detection and analysis with MediaPipe! In our next tutorial, we’ll explore pose estimation and body tracking, learning how to analyze human movement for fitness applications, sports analysis, and motion capture.
Ready to build your own smart camera application? Download our complete project files with additional filters, privacy-focused implementations, and mobile optimization techniques.
This is Part 3 of our comprehensive MediaPipe series. Next: Pose Estimation for fitness and sports applications. Follow along as we build increasingly sophisticated computer vision solutions!